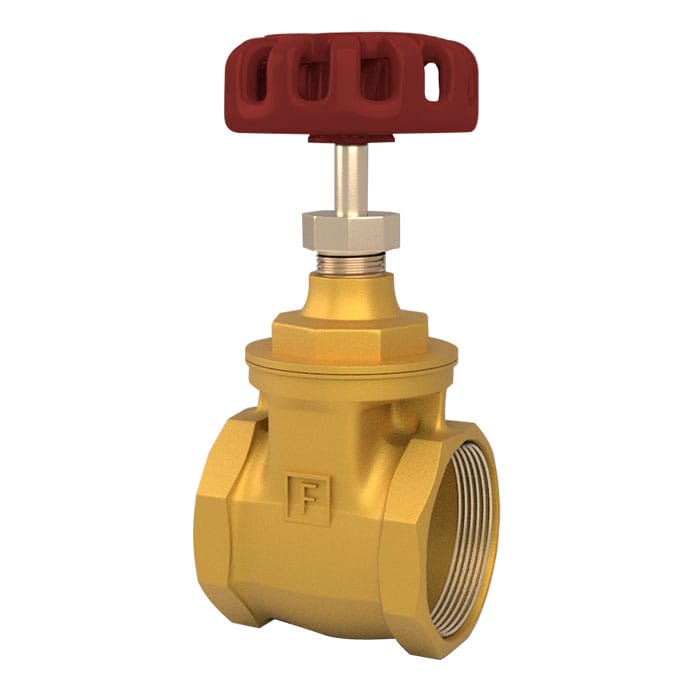
PRESSURE & TEMPERATURE RATINGS
| Working Pressure | 150psi |
| Shell Testing Pressure (x2.0) | 300psi |
| Seat Testing Pressure (x1.1) | 165psi |
| Working Temperature | -4°F … 230°F (EPDM) 14°F … 176°F (NBR) |
| Suitable Media | Water, Oil & Gas |

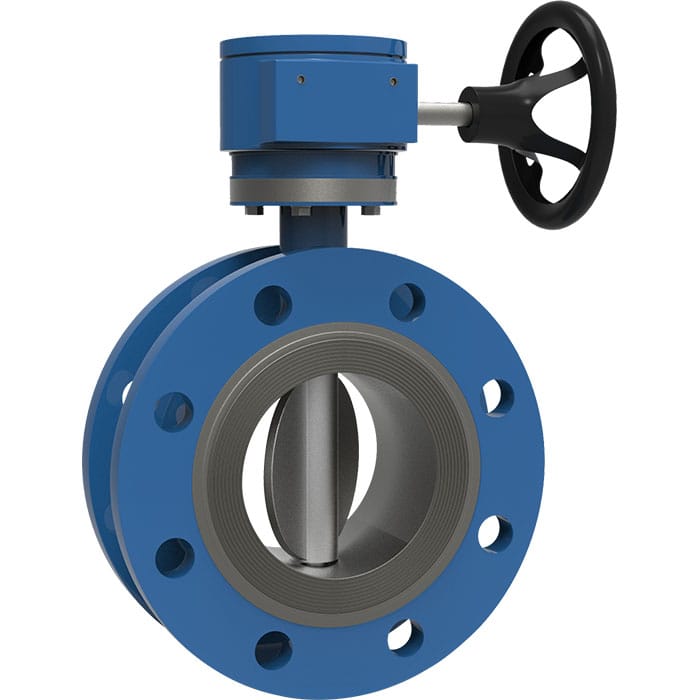
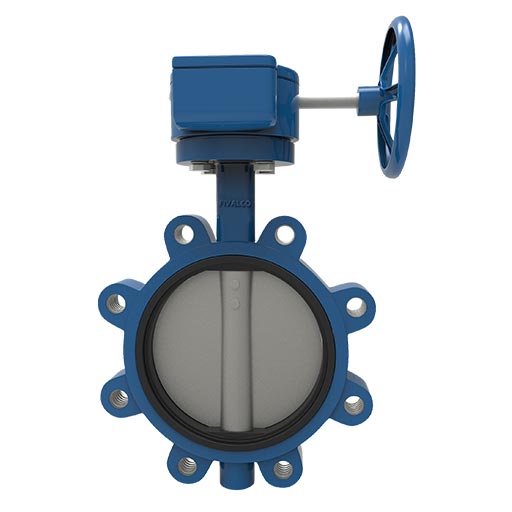
| Body | Ductile Iron |
| Disc | Ductile Iron Aluminium Bronze Stainless Steel 304 Stainless Steel 316 |
| Shaft | Stainless Steel 410 Stainless Steel 431 |
| Seat Ring | EPDM / NBR |
| O-Ring | EPDM / NBR |
| Bushing | Bronze |
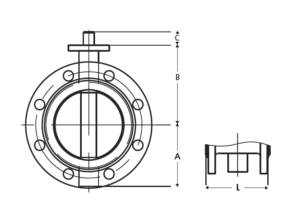
| DN | (mm) (inch) |
80 3 |
100 4 |
150 6 |
200 8 |
250 10 |
300 12 |
350 14 |
400 16 |
450 18 |
| A | 3.82 | 4.69 | 6.14 | 7.36 | 8.2 | 9.86 | 11.42 | 12.63 | 13.52 | |
| B | 5.16 | 5.91 | 7.09 | 8.27 | 9.67 | 10.83 | 12.91 | 14.8 | 16.01 | |
| C | 1.18 | 1.18 | 1.26 | 1.57 | 1.97 | 1.97 | 1.97 | 2.76 | 3.35 | |
| L | 5 | 5 | 5 | 6 | 8 | 8 | 8 | 8 | 8 |
| DN | (mm) (inch) |
500 20 |
600 24 |
750 30 |
900 36 |
1050 42 |
1150 46 |
1200 48 |
1350 54 |
1500 60 |
| A | 16.08 | 18.78 | 20.33 | 24.21 | 28.74 | 41.2 | 39.4 | 45.7 | 50.1 | |
| B | 17.64 | 20.39 | 24.02 | 27.24 | 34.06 | 41.8 | 34.8 | 39.2 | 41.8 | |
| C | 3.74 | 4.33 | 3.74 | 5 | 5.12 | 5.91 | 5.91 | 7.87 | 7.87 | |
| L | 8 | 8 | 12 | 12 | 12 | 15 | 15 | 15 | 15 |
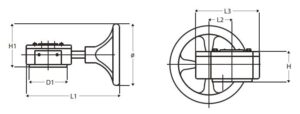
| VALVE DIAMETER | D1 | ø | H | H1 | L1 | L2 | L3 |
| DN80 | 65 | 150 | 33 | 70 | 216 | 45 | 127 |
| DN100 – DN150 | 90 | 150 | 33 | 70 | 216 | 45 | 127 |
| DN200 – DN250 | 125 | 285 | 36 | 76 | 303 | 63.5 | 170 |
| DN300 – DN350 | 125 | 285 | 40 | 79 | 300 | 80 | 190 |
| DN400 | 175 | 385 | 79 | 232.5 | 300 | 80 | 190 |
| DN450 – DN500 | 175 | 390 | 108 | 251 | 397/427 | 120 | 279 |
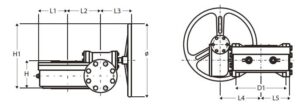
| VALVE DIAMETER | D1 | ø | H | H1 | L1 | L2 | L3 | L4 | L5 |
| DN400 – DN500 | 175 | 285 | 125 | 271 | 107 | 100 | 156 | 168 | 107 |
| DN600 | 210 | 285 | 125 | 271 | 107 | 100 | 156 | 168 | 107 |
| DN750 | 300 | 425 | 149 | 378 | 146 | 140 | 197 | 230 | 146 |
| DN900 – DN1050 | 300 | 425 | 185 | 409 | 201 | 196 | 203 | 279 | 201 |
| DN1150 – DN1200 | 350 | 425 | 216 | 423 | 185 | 240 | 203 | 311 | 255 |
| DN1350 | 415 | 510 | 267 | 553 | 208 | 345 | 258 | 435 | 355 |
| DN1500 | 415 | 510 | 312 | 562 | 316 | 410 | 237 | 450 | 425 |